Spring makes me happy. There is nothing nicer than warming temperatures and spring flowers.
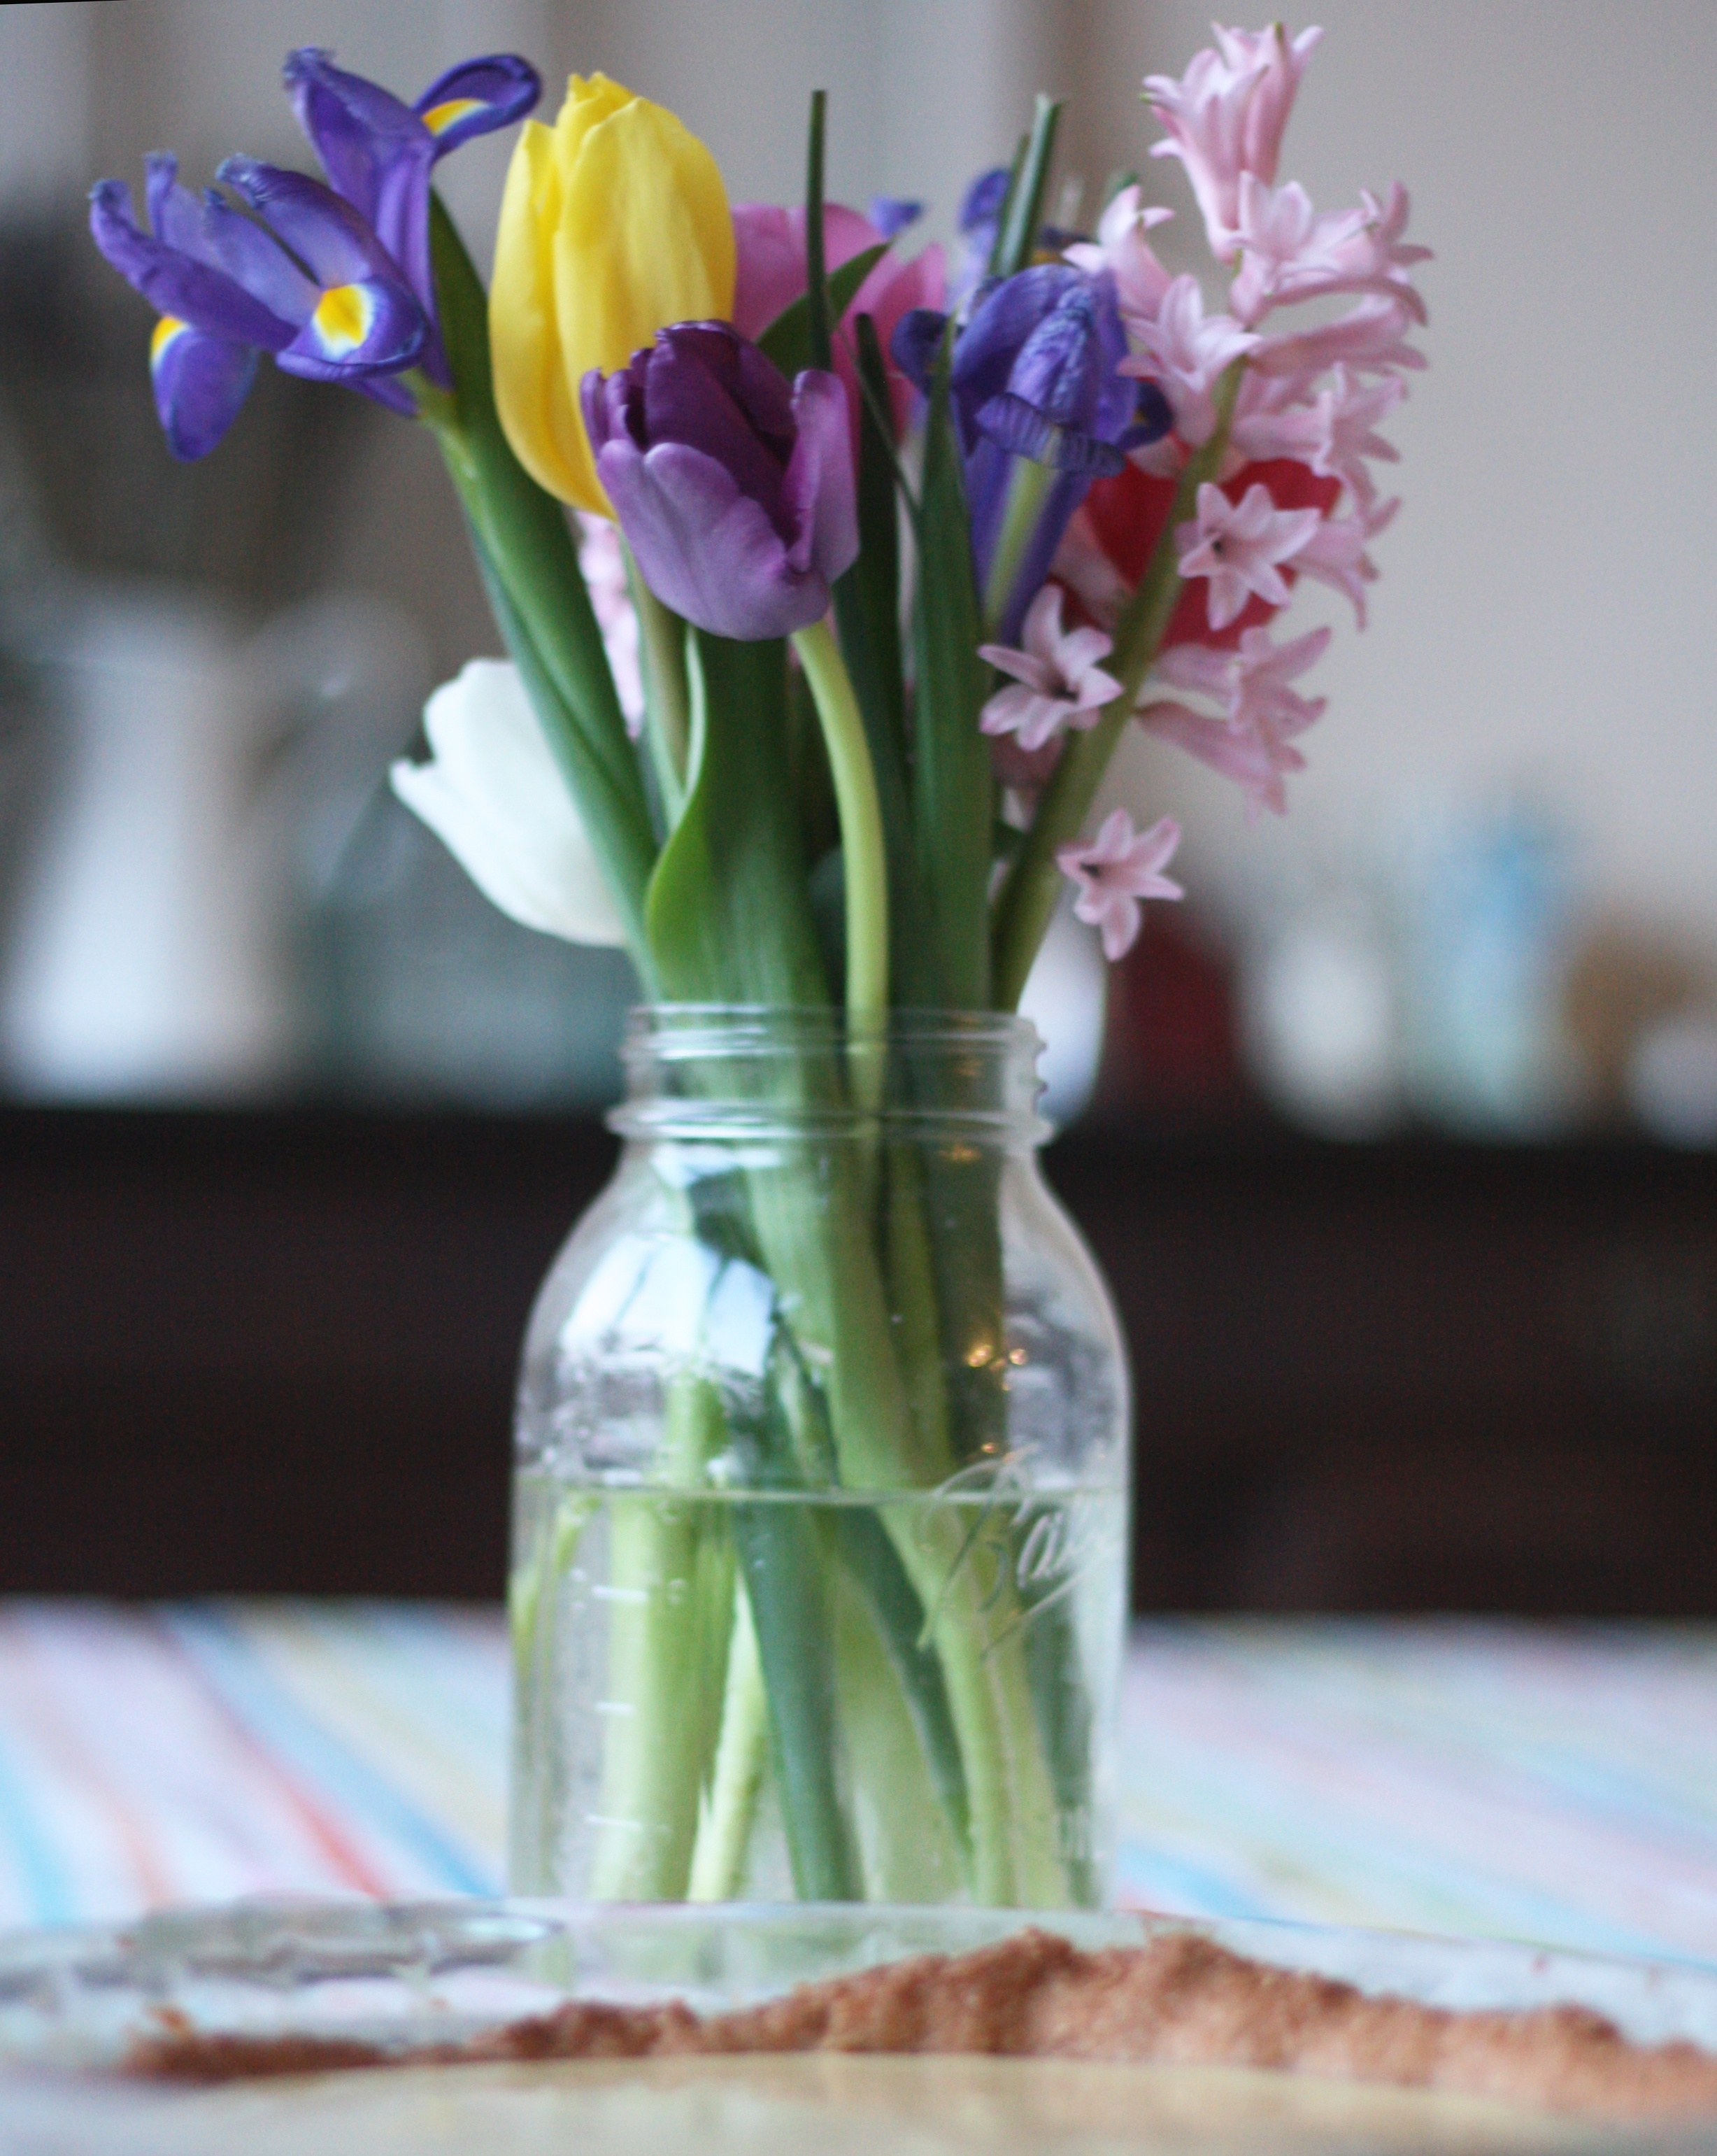
Thanks for the beautiful bouquet, hubby!
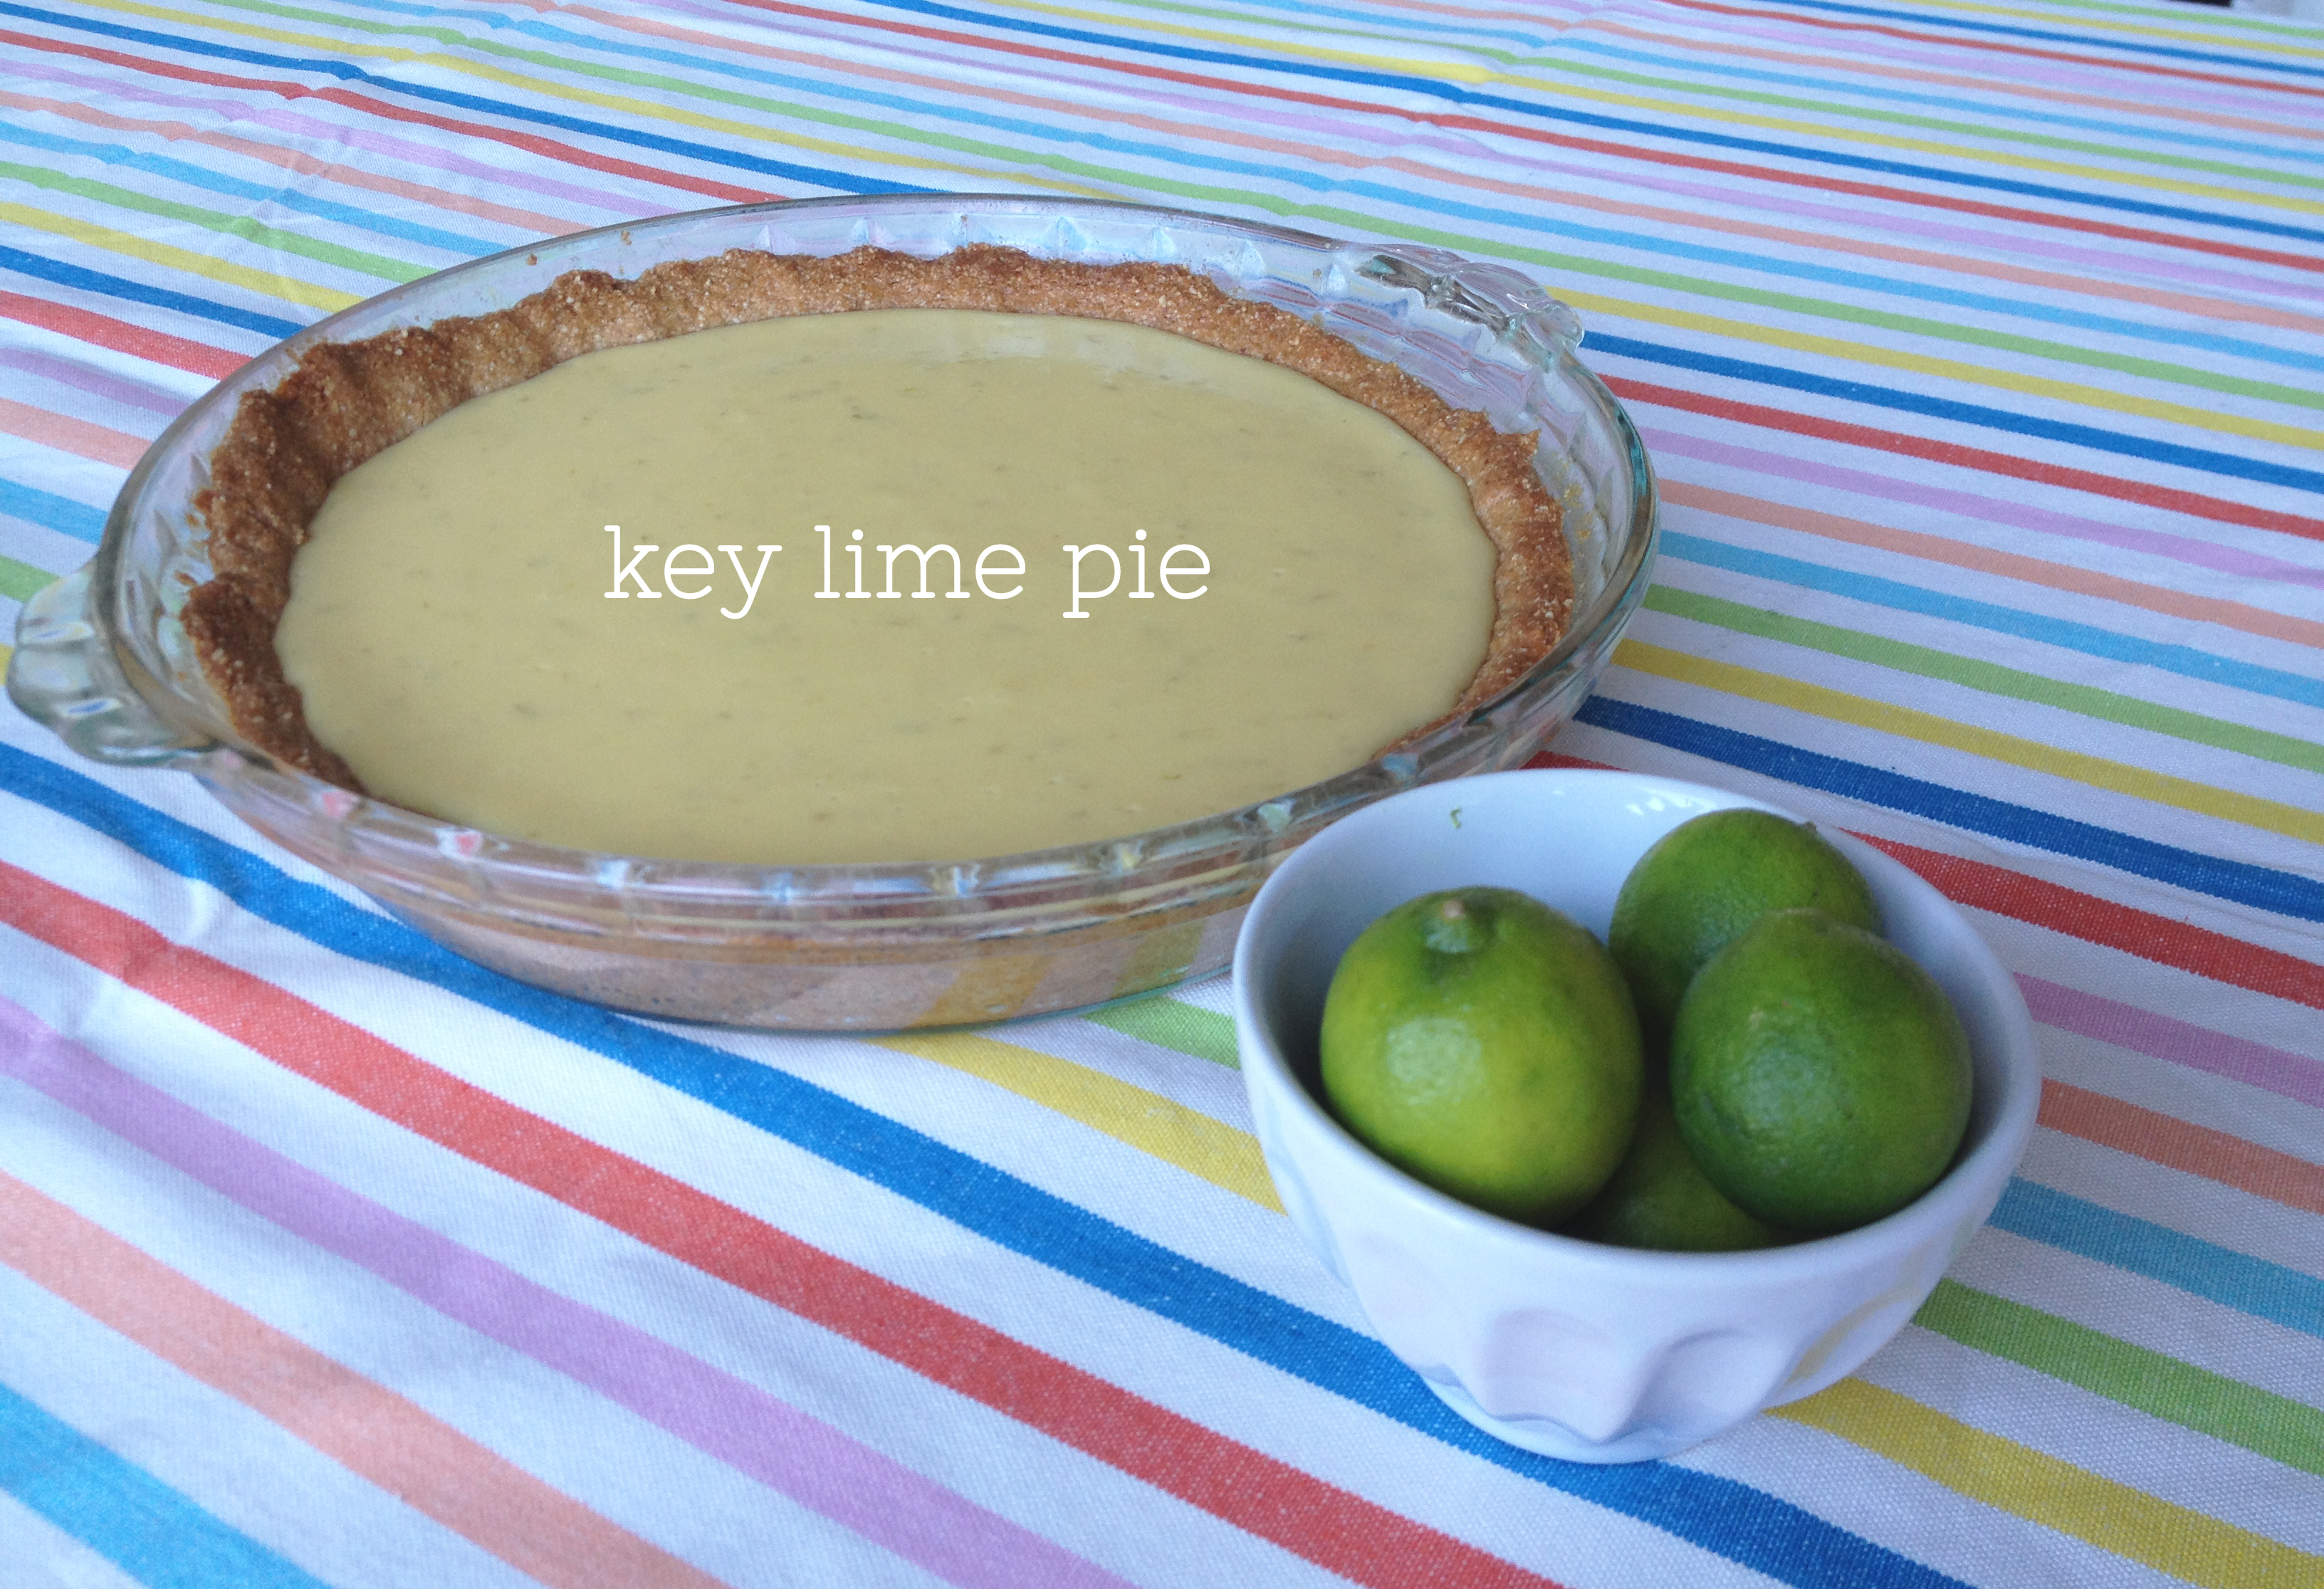
I recently went on a quick jaunt to the Florida Keys – it rained the whole time, but it didn’t prevent me from tasting “the world’s best key lime pie” at Mrs. Mac’s Kitchen in Key Largo. Although many places we passed made similar claims about their pie, it was indeed the best key lime pie I have ever eaten. I knew I had to replicate it at home so I schlepped a lb of key limes back with me to New Haven.

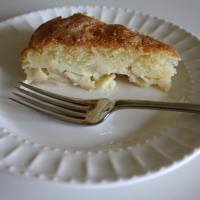
Since I like a challenge and am always trying to eat less wheat, I decided to make a gluten free “graham cracker” crust. Although it wasn’t as beautiful as I would have liked, the taste hit the spot. It has great crumbly texture and the perfect graham flavor. Hubby claims it’s better than any graham cracker crust he’s ever tasted – but I’m never sure if he’s just misremembering. Either way, it rocks. And it’s gluten free.
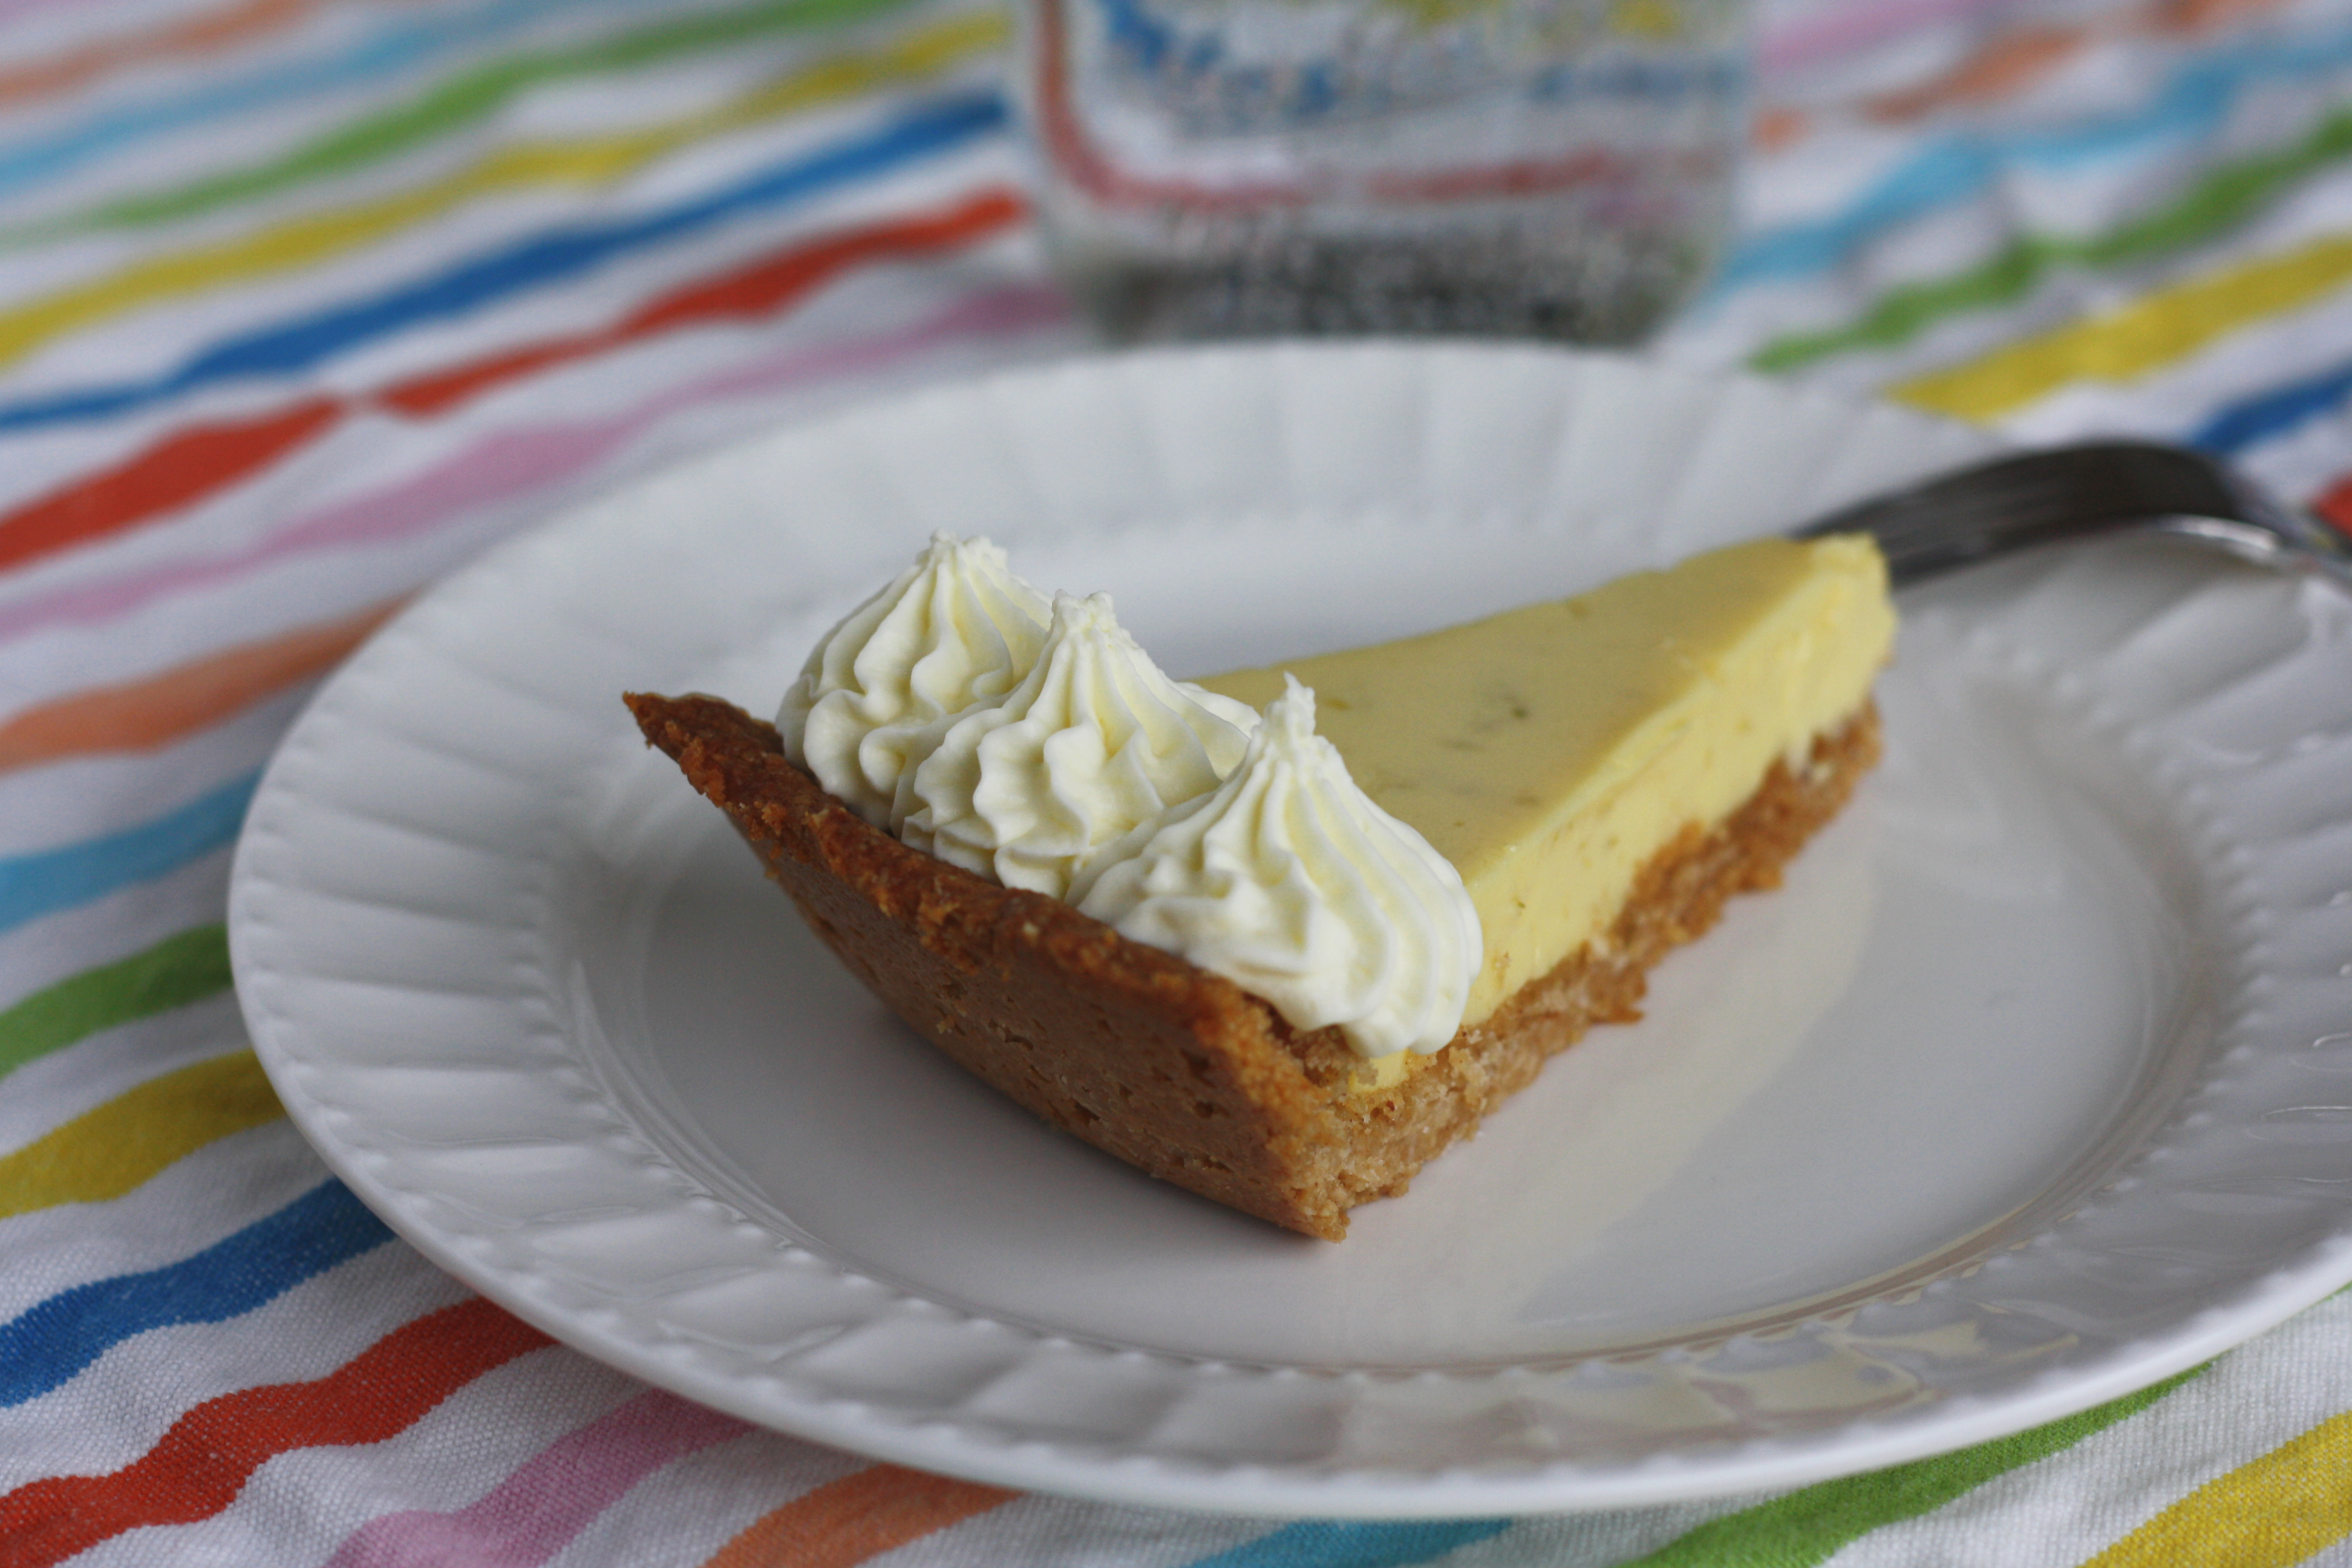
While reviewing tons of recipes, I came upon a raging argument over whether whipped cream or merengue was a more authentic topping. Since Mrs. Mac’s used whipped cream (as did the 70’s style key lime pie post card I bought), I did too. Which ever you choose, I recommend whipping up one of these – it is super easy and is bursting with spring flavor.
Ingredients:
Filling
4 egg yolks
zest of 4-5 key limes (about 4 tsp)
can of sweetened condensed milk (14 oz)
1/2 cup key lime juice, strained
Crust
4 tsp coconut oil, melted
2 tbsp agave
1 1/4 cup almond meal, packed
1/2 cup shredded, unsweetened coconut
2 Tbsp white rice flour
2 Tbsp tapioca starch
1/4 tsp salt
1 tsp cinnamon
whipping cream
a couple tsp sugar (to taste)
Directions:
Preheat oven to 350 degrees
Whisk yolks and zest together until the mixture lightens in color and has a light green shade, about 2 minutes. Whisk in sweetened condensed milk and then key lime juice. Set aside to thicken at room temperature while you prepare the crust.
Lightly coat pie plate with cooking oil spray. Whisk together crust ingredients until evenly combined. Press into bottom and up sides of pan. Bake 10-20 minutes, tenting with foil if necessary, until lightly golden and crispy. Let cool completely on rack. Change oven temp to 325 degrees.
Pour filling into cooled crust. Bake for 15-17 minutes, until set but still jiggly when shaken. Let cool to room temp. Refrigerate at least 3 hours. Whip up some cream and serve with pie. Enjoy the taste of spring.

 According to my filling inspiration, Baking Illustrated, you can refrigerate up to 1 day when covered with saran wrap lightly sprayed with oil. HOWEVER, I don’t recommend covering it right away. I did (before I had finished photographing this lovely thing – and it stuck and ripped part of the top. Instead, let it chill for a couple hours, THEN proceed with oiled plastic covering.


I would like to try this recipe. What does it mean “melted” next to the coconut oil? New to this Gluten free thing and want to make this for a friend who loves Key Lime pie but recently discovered she cannot have gluten. Thanks!!
Hi Ryan –
At room temperature coconut oil is solid. Before you can add it to your mixture or measure it, you have to melt it in the microwave first. Though in my kitchen on a hot day like today, it is sometimes already liquid!
I have quite a few gluten free desserts on my blog – you should look around. The best website for everything gluten free is http://glutenfreegirl.com/
Good luck making the pie – and enjoy!
Your recipes look scrumptious, and so does your presentation on this blog. The photos are outstanding. What camera are you using? It’s something way beyond a smart phone.
Thanks, Susan! I started with a more traditional point and shoot but I am now using a Canon Rebel XS. Most of the recent pictures were taken with a 50mm f/1.8 lens. I’m in the market for some new lenses though! I have to admit that an occasional smart phone pic makes it’s way in here sometimes though!
Holy Moly!!! Yes please!!!!! What a delicious looking treat. I will have to try this one out. Thank you for your recipe.